Finishing Surface Prep Essentials
Master the art of surface preparation.

This page focuses on Finishing Surface Prep—what to do first, what to avoid, and how to get results safely.
Proper surface preparation is crucial for achieving a flawless finish in woodworking. Whether you’re working on furniture, cabinetry, or decorative pieces, understanding the right techniques and tools will elevate your projects. This sub-hub offers insights into sanding and finishing methods that will help you create beautiful, professional-quality results. Let’s dive into the essentials of prepping your surfaces for that perfect finish.
Key highlights
- Sanding techniques explained
- Choosing the right sandpaper
- Finishing product recommendations
- Avoiding common pitfalls
- Tips for a smooth finish
How to choose (and common mistakes)
How to choose for Finishing Surface Prep: match your situation, confirm compatibility, then follow a simple checklist to avoid common mistakes.
When selecting sanding tools and finishes, consider your project type and wood species. Common mistakes include using the wrong grit sandpaper, which can lead to scratches and uneven surfaces. Always start with coarser grits to remove imperfections, then progress to finer grits for a smooth touch. Additionally, test your finish on a scrap piece of wood to see how it reacts. This will help you avoid surprises and ensure you achieve the desired look. Remember, preparation is key to a successful finish.
⚡ Quick Picks
Three strong options to start with. Pick one that matches your goal, then jump to the guides below.
Nicpro Carpenter Pencil with Sharpener, Mechanical Pencils Set with 26 Refills, Deep Hole Marker for Construction, Heavy Duty Woodworking Tools for Architect (Black, Red) – With Case
Valued Carpenter Pencil Set: You will get 2 pcs solid carpenter pencils with 26…
Deep Hole Marker Pencil: The deep-hole construction pencils adopts 45mm elongated tip design, which is more convenient to mark in the small hole or in…

Wood Carving Kit Whittling Kit: Deluxe Wood Carving Tools Knife Set with Leather Case – Woodworking Hobby Kit for Beginners Adults Kids – DIY Art Craft Gift for Men Teens
[Wood Carving Kit Deluxe Edition] BLUVIZO wood carving set provides everything f…
[Upgraded Wood Carving Knife] Our knife blade is sharp and easy to use, the metal cap holds the blade in place and prevents the blade and handle from…
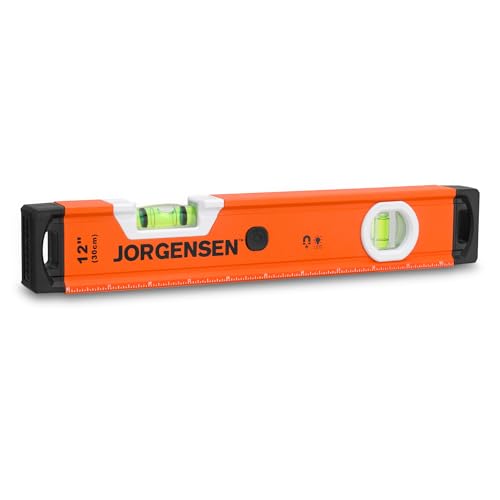
JORGENSEN 12 in. Magnetic Torpedo Level with 90°/180° Bubble Vials, Light Up Spirit Level, Shockproof Rubber End Caps, Metric & Imperial Scale, Aluminum Frame, for Home Installations & DIY
Delivers high accuracy of 0.029° (0.5mm/m), ideal for precise leveling, alignmen…
Equipped with LED illuminated bubble vials at 90°and 180°, this LED level ensures clear visibility in low light conditions, dark rooms, and tight work…
We hand-pick these based on real testing and reviews.
Related Topics
Random Orbital Sanders
Belt Sanders
Detail & Finish Sanders
Dustless Sanding
Sandpaper & Grit Guides
Scrapers & Hand Sanding
Latest Guides
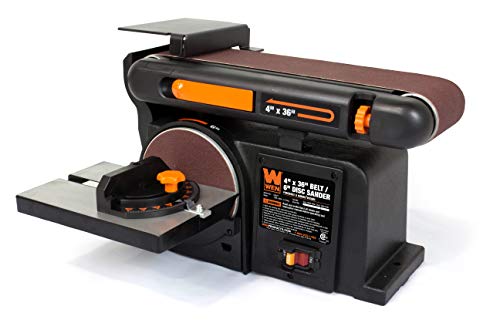
9 Best belt sanders for woodworking (2026)
Best Belt Sanders for Woodworking ProjectsFinding the right belt sander can elevate your woodworking projects by providing smooth finishes and […]
9 Best detail sanders for woodworking (2026)
Best Detail Sanders for Woodworking When it comes to achieving a flawless finish in woodworking, a detail sander is an […]

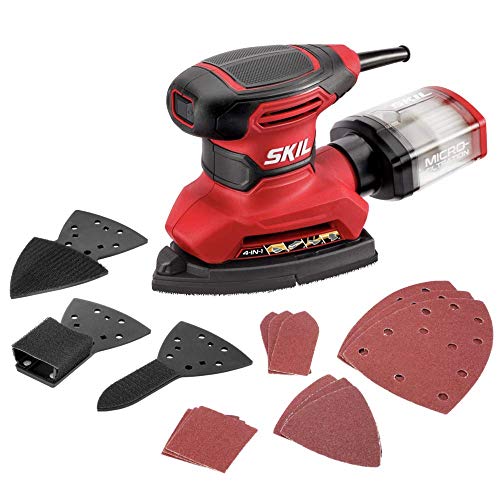
9 Best sheet sanders for woodworking (2026)
Top Sheet Sanders for Woodworking Projects Finding the right sheet sander can elevate your woodworking projects to the next level. […]

9 Best cordless random orbital sanders (2026)
Top 5 Cordless Random Orbital Sanders of 2023 Looking for the best cordless random orbital sanders? These versatile tools offer […]

9 Best random orbital sanders (2026)
Best Random Orbital Sanders for Every Project Looking for the perfect random orbital sander? Whether you're a DIY enthusiast or […]
How We Choose & Recommend
Short, practical guidance first—then product picks when you are ready.
- We compare features and real-world use cases for Finishing Surface Prep.
- We scan user feedback for patterns (not one-off opinions).
- We call out trade-offs so you can pick confidently.
FAQ
What grit sandpaper should I start with?
Start with a coarser grit, like 80 or 100, to remove any imperfections. After the initial sanding, move to finer grits, such as 220, for a smooth finish. Always sand with the grain to avoid scratches. Check your progress often to ensure you don’t oversand.
How do I choose the right finish for my project?
Consider the wood type and the intended use. For high-traffic items, a durable finish like polyurethane is ideal. For decorative pieces, oil-based stains can enhance the wood's natural beauty. Test your chosen finish on a scrap piece to see its effect before applying it to your project.
What is the best way to clean surfaces before finishing?
Use a vacuum or a tack cloth to remove dust and debris from the surface. This prevents particles from getting trapped in the finish. Make sure the surface is completely dry, as moisture can affect adhesion. Always double-check for any leftover dust before applying your finish.
How can I avoid bubbles in my finish?
Bubbles often form from applying finish too quickly or with a dirty brush. Use a high-quality brush and apply thin layers. Allow each layer to dry fully before adding another. If you notice bubbles, lightly sand the surface and reapply the finish carefully.
Is it necessary to sand between finish coats?
Yes, sanding between coats helps to create a better bond and smooth finish. Use a fine grit sandpaper, like 320, to lightly sand after the previous coat has dried. Always wipe down the surface to remove dust before applying the next coat.
What should I do if my finish is uneven?
If your finish appears uneven, you may need to sand it down lightly with a fine grit sandpaper. After sanding, clean the surface thoroughly and apply an additional coat of finish. Ensure you follow the manufacturer's instructions for drying times to prevent further issues.
⭐ “Our Top 3 WoodWorking Tools for 2026
Nicpro Carpenter Pencil with Sharpener, Mechanical Pencils Set with 26 Refills, Deep Hole Marker for Construction, Heavy Duty Woodworking Tools for Architect (Black, Red) – With Case
Valued Carpenter Pencil Set: You will get 2 pcs solid carpenter pencils with 26…
Deep Hole Marker Pencil: The deep-hole construction pencils adopts 45mm elongated tip design, which is more convenient to mark in the small hole or in…
Wood Carving Kit Whittling Kit: Deluxe Wood Carving Tools Knife Set with Leather Case – Woodworking Hobby Kit for Beginners Adults Kids – DIY Art Craft Gift for Men Teens
[Wood Carving Kit Deluxe Edition] BLUVIZO wood carving set provides everything f…
[Upgraded Wood Carving Knife] Our knife blade is sharp and easy to use, the metal cap holds the blade in place and prevents the blade and handle from…
JORGENSEN 12 in. Magnetic Torpedo Level with 90°/180° Bubble Vials, Light Up Spirit Level, Shockproof Rubber End Caps, Metric & Imperial Scale, Aluminum Frame, for Home Installations & DIY
Delivers high accuracy of 0.029° (0.5mm/m), ideal for precise leveling, alignmen…
Equipped with LED illuminated bubble vials at 90°and 180°, this LED level ensures clear visibility in low light conditions, dark rooms, and tight work…
We hand-pick these based on real testing and reviews.